Today, we have a multitude of cooking accessories ranging from specialty appliances to utensils. But as my favorite TV chef, Alton Brown, espouses – every cooking tool should have more than one function. Toss the specialty items out and let’s get back to basics. Reminisce about your grandmother’s cooking techniques. Her greatest tool was her hands, and I would argue her second-best kitchen tool was her cast iron skillet. Yes, I am referring to that heavy black pan that you probably threw out years ago. If you didn’t get rid of it, it’s time to dust it off and place it on the stovetop for daily use. I have a variety of pots and pans in my kitchen, but I primarily use the cast iron skillet for most of my cooking. Full disclosure, I love them so much that I have them in three sizes for various uses. Let me share with you why I am partial to a cast iron skillet and explain its benefits.
Iron Fortification of Foods
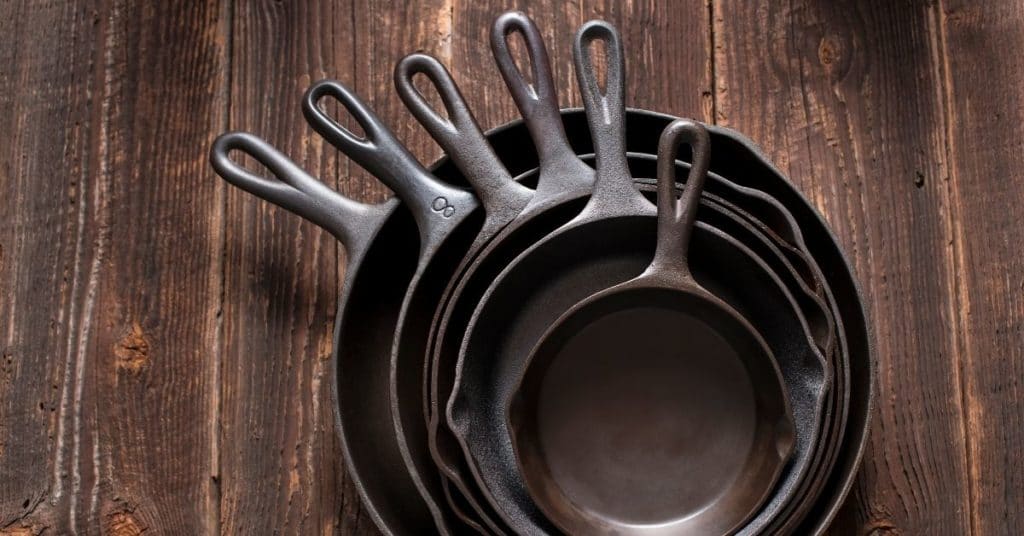
Food prepared in a cast iron skillet becomes fortified with iron. This fortification process has been studied as early as 1945 by Mackay and others. This scientist found a five-fold increase in the iron content of food prepared in a cast iron pan (1). In 1965, Moore (2) studied seven foods cooked with iron utensils. The increase in iron levels in the food was directly proportional with the length of cooking time. On average, Moore found a five-fold increase of iron in scrambled eggs, fried potatoes, gravy and rice casserole. More recent studies have been inconclusive. (2) Some would argue this might be due to changes in the make up of the cooking utensils. The lesson is to stick to the tried-and-true cast iron skillet and skip the modern options that may have less iron and more fillers. I am partial to skillets made by Lodge. Cast iron skillets are especially important for people with digestive issues who may not be able to absorb iron well. It also is beneficial for menstruating or pregnant women who need an extra iron source.
This scientist found a five-fold increase in the iron content of food prepared in a cast iron pan.
Naturally Non-Stick and Non-Toxic
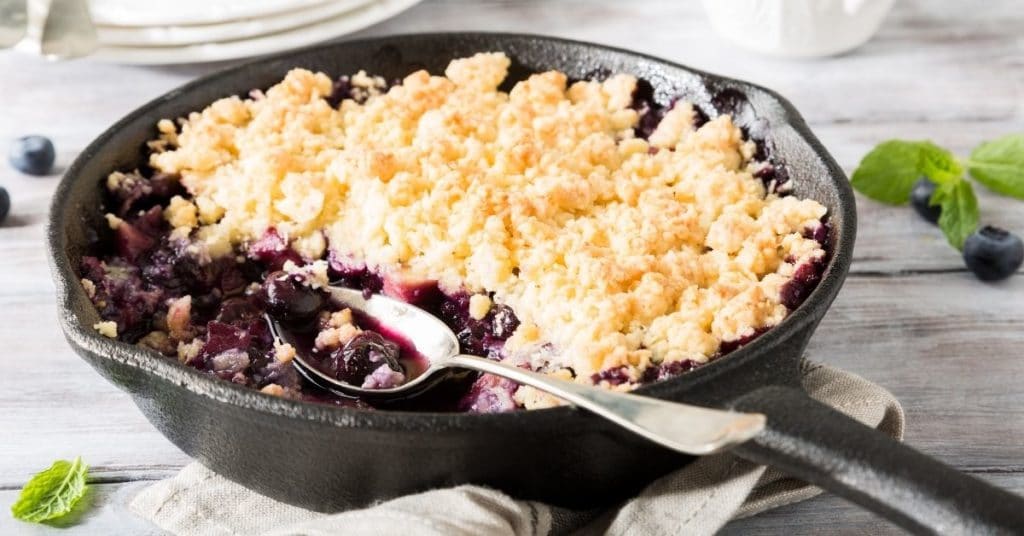
In the early 1960s, the kitchen market was saturated with non-stick cooking tools. Household cooks said goodbye to their age-old pans and restocked with this new version of the standard pan. Afterall, non-stick meant less fat and an easier clean up. Now, we see that non-stick pans made with Teflon may cause health problems. These pans release chemicals into the air and if the pan is scratched, it can release these compounds into your food. I’m talking about perfluorinated compounds or PFCS. They have been linked to changes in brain, hormone and liver function. Recently, I have been seeing a new option on the market that is free of Teflons. I wonder what they are using now? Are we going to find out that these new pans may also pose a health risk in 20 years? Let’s keep life simple and utilize a cast iron skillet that is naturally non-stick.
It’s Easy to Season and Care for a Cast Iron Skillet
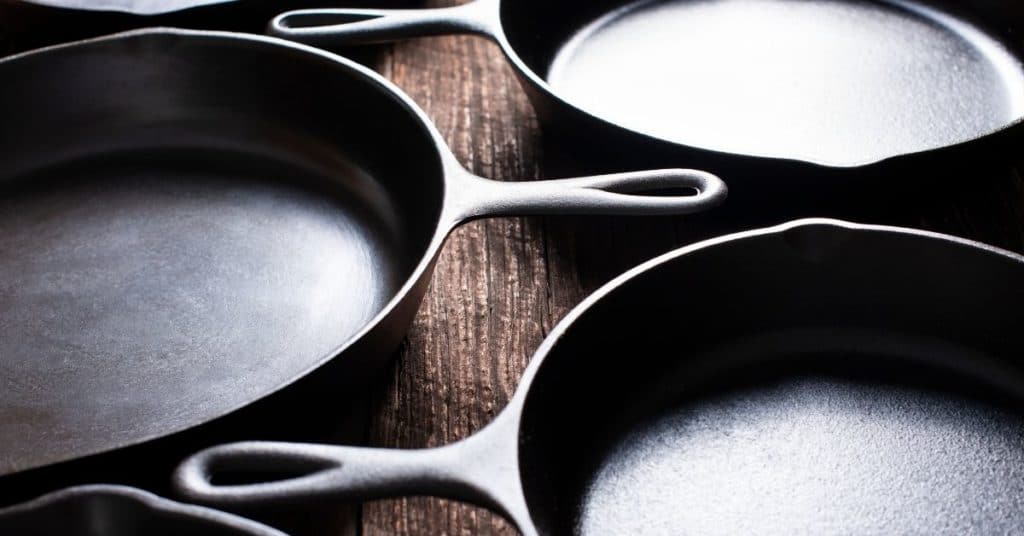
The key to a non-stick iron skillet is the seasoning process. How do I season my pan? The first trick is to remove the remaining food bits when the pan is still hot. Add a little water to it and scrape the bottom of the pan. If you over soak the skillet, just place it over low heat on the stove and the water will evaporate. If it’s not over soaked, place it back on the stove and take a paper or cloth towel with a little oil and wipe the pan out. I use grapeseed oil to season my pan. It’s important to make sure the pan dries properly and is oiled after use to avoid rust. If a quick clean up between cooking and eating is too much, then complete the steps above and use a stainless steel chain mail scrubber to remove the dried food residue.
Budget-Friendly
If you want to purchase a cast iron skillet and are sticking to a budget, have no fear. This pan is affordable. You can buy it at your local Target for less than $25. A bonus is the lifetime guarantee on these products. Cast iron skillets are like a fine wine. They improve with age. Your only job is to give it a little love and season it with a light coat of oil after use. The pan will become smoother and will produce quality food. What an investment! You can even will your cast iron skillet to future generations. It’s the gift that keeps giving.
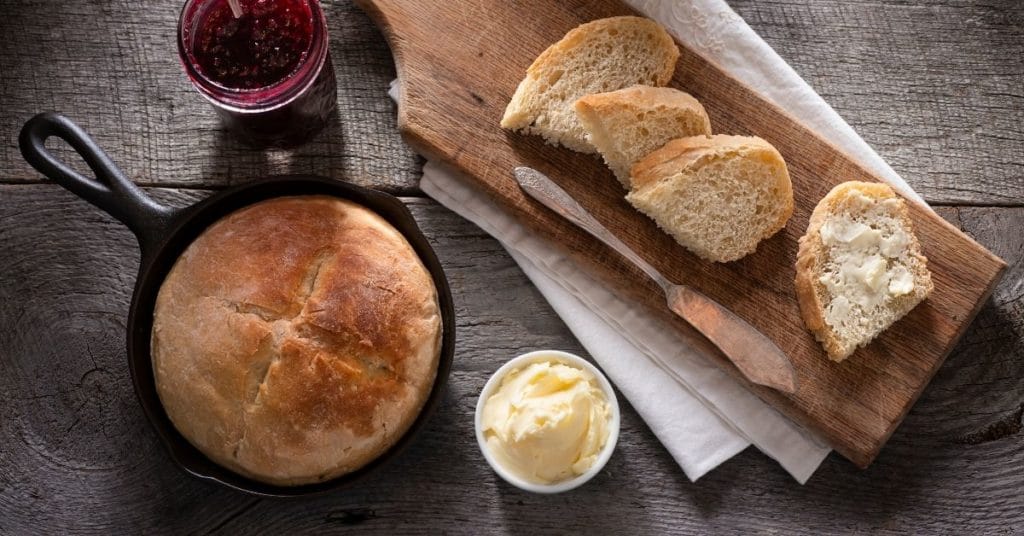
Cast Iron Skillets Are Multi-Purpose
So you have a pan but what should you cook in it? Here are a few ideas.
- Fry an egg or make a frittata
- Pizza night! Make a pizza in your cast iron skillet. See below for a recipe.
- Biscuits
- Apple crisp
- Roasted chicken, beef or pork
- Sauteed vegetables
- Potato casseroles
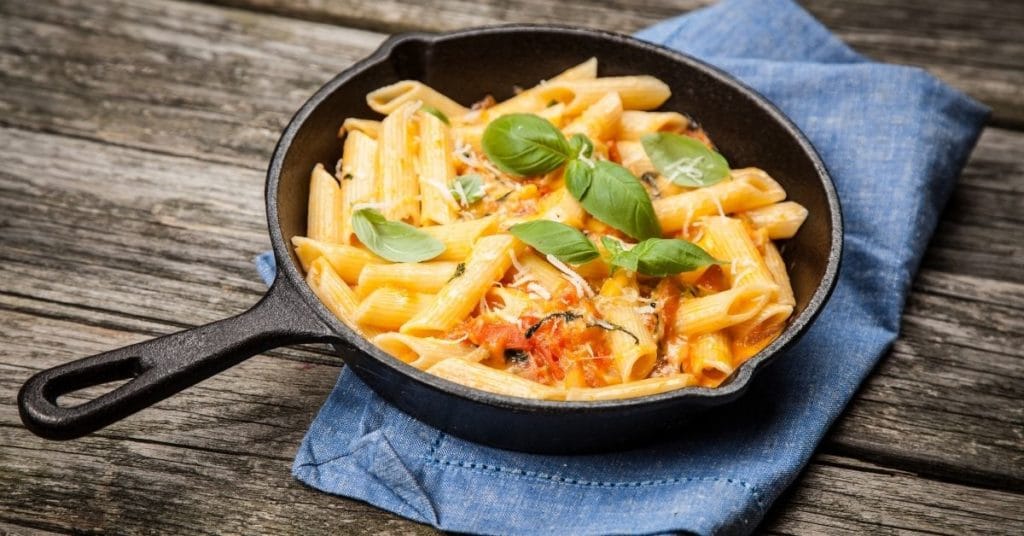
- Pasta dishes – macaroni and cheese, traditional spaghetti and meatballs, etc.
If you want a simple clean up, you can prepare a whole meal in one skillet. There are cookbooks dedicated to one cast iron skillet meals.
In the meantime, check out this cast iron skillet pizza recipe. It’s something that friends and family can prepare together.
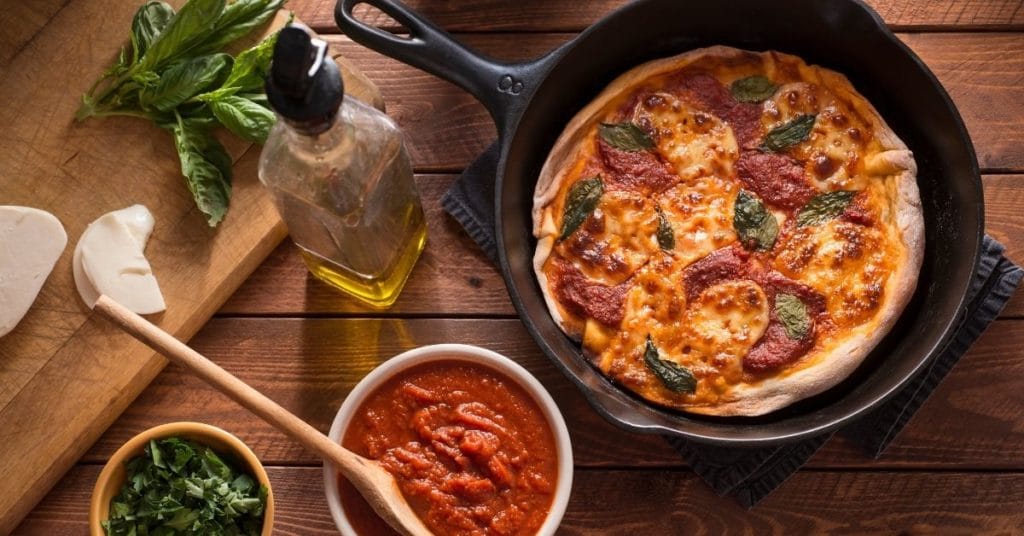
Gluten-Free Cast Iron Skillet Cheese Pizza
Step 1. About 2 1/2 hours before you want to serve your pizza, gather these dry ingredients to make the crust:
- 1 3/4 cups (273g) Gluten-Free All-Purpose Flour
- 2 tablespoons (14g) coconut milk or almond milk
- 1/2 teaspoon baking powder
- 1 teaspoon salt
- ½ teaspoon garlic powder
- ½ teaspoon onion powder
- 1 teaspoon xanthan gum
- 2 teaspoons sugar
Step 2. Combine the dry ingredients into a bowl and set aside. If you have a stand mixer, place the dry ingredients directly into the stand mixer bowl.
Step 3. Next, combine these ingredients for the yeast mixture:
- 1 cup (227g) lukewarm water
- 2 tablespoons (25g) olive oil
- 1 3/4 teaspoons instant yeast
Step 4. Add 1 cup of the dry ingredients from Step 1 to the yeast mixture and combine. Set this mixture aside for 30 minutes or until bubbly.
Step 5. Add the bubbly mixture from Step 4 to the remaining dry ingredient mixture from Step 1. Mix on medium-high speed for 4 minutes. The final dough should be a thick consistency.
Step 6. Allow the dough to rest for 30 minutes.
Step 7. Coat the cast iron skillet with olive oil (about 1-2 Tbsp) on the bottom and sides. Transfer the dough to the oil prepared skillet. Push the dough out evenly over the entire bottom of the skillet. I always start in the center and push outward.
Step 8. Wait another 30 minutes.
Step 9. Preheat the oven to 375 degrees with racks placed on the bottom and top of the oven.
Step 10. After 30 minutes of proofing in the pan, start adding the sauce and grated cheese. Here are the portions I recommend:
- 1/3 to 1/2 cup (74g to 113g) tomato sauce or pizza sauce
- 6 ounces (170g) mozzarella, grated (about 1 1/4 cups)
Step 11. There are two camps of gluten-free pizza. Some people believe in putting the cheese down first and others believe in putting the sauce down first. It’s up to you. Try it both ways and see what you prefer.
Step 12. After adding the cheese and sauce, cook on the bottom rack for 20-25 minutes. When the edges of the crust begin to turn golden brown and the cheese begins to bubble, transfer the pan to the top rack. Watch it closely. It may only need 1-5 minutes.
Step 13. When the cheese is browned, remove it, and add the fresh ingredients. My household loves basil and prosciutto! Then we top it with a little more extra virgin olive oil.
Yuuuumm! I think it’s time for a pizza night. Who wants to join me?
Benefits of a Cast Iron Skillet
Overall there are many benefits to a cast iron skillet. They can fortify your food with iron. They’re naturally non-toxic and non-stick, which is especially important when taking a close look at skillet competitors these days. Moreover, cast iron skillets are truly quite simple to clean and care for. Additionally, they’re extremely affordable and last a lifetime. One of my favorite benefits to owning a cast iron skillet is how useful they are! They can be used for every meal of the day, including desserts like this Sweet Potato Pie, and they can be used on the stove top or in the oven.
If you haven’t already, consider investing in and trying out a cast iron skillet. Seasoning it and cleaning it might be slightly different than your usual kitchen routine, but it is completely worth it to learn.
Sources:
- Mackay, H. M. , Dobbs, R. H. and Bingham, K. 1945. The effect of national bread, of iron medicated bread, and of iron cooking utensils on the hemoglobin level of children in wartime day nurseries. Arch. Dis. Childh. 20:56.
- Moore C. V. 1965. Iron nutrition and requirements. Series Haematology. 6:1.

